

Open Concept Living
When renovating existing spaces, small architectural shifts can make a significant impact on design optionality and perception.


How Did We Achieve the Project Goals?
-
When creating an open concept space, the first question to ask is typically, “which partitions are load bearing?” Fortunately enough, this one was not. It makes sense that the center partition running plan north to south would be bearing and joists would run in the short direction east to west from each exterior wall to the midline of the house. Anything can be possible though, especially in these old homes, so it is important that a licensed professional perform a visual inspection prior to any extensive demolition.
A second question might be, “what is in this partition that we either need to remove or relocate and what might be the costs associated with that?” In this case, we had an old chimney flue that had been capped off at the roof line running from the basement up through the kitchen that would later get demolished. We wouldn’t call this an inexpensive task but a necessary one to achieve the final design. This house, like many homes of this era had hydronic baseboard heating that was outdated and interfering with our ability to open the kitchen to the dining room. This is really just par for the course when doing a renovation. Whole systems may need to get upgraded or individual units isolated to the work areas. Evaluating these spaces wholistically even in the early phases of design, will help to shed light on elements of the project that may dictate final decision making down the road. -
2. Removing a partition meant less space to recreate the work triangle in the new layout. Pulling the basement door and partitions forward a couple feet created a functional area for the new range and its required clearances. From a design perspective, it makes most sense to feature the range as a fixture your eye anchors onto as you approach the kitchen from the living spaces. An inexpensive adjustment to the architecture created an opportunity for a new and functional layout.
-
3. Addressing the existing narrow staircase up to the second floor was a must for this project but the budget didn’t allow for a complete code compliant reconstruction of the stair. As an alternative, we simply removed the partition and door at the bottom few risers and added a handrail, making the space feel more open .
-
4. Aside from the bathroom being pink...for a bathroom that services two bedrooms, this space was cramped. Claiming the area of the linen closet and a small portion of the bedroom closet, we gained a much more luxurious shower with space left over to run relocated duct risers.
-
5. What felt more like an outdoor walkway, this deck was under supported and not functional. Expanding just to the edge of the hexagonal sunroom, the deck remained integrated with the existing architecture and reproportioned to accommodate a dining and seating area.
Existing Floor Plan
New Floor Plan
Where Did We Begin
-

Kitchen View Towards Dining Room
-

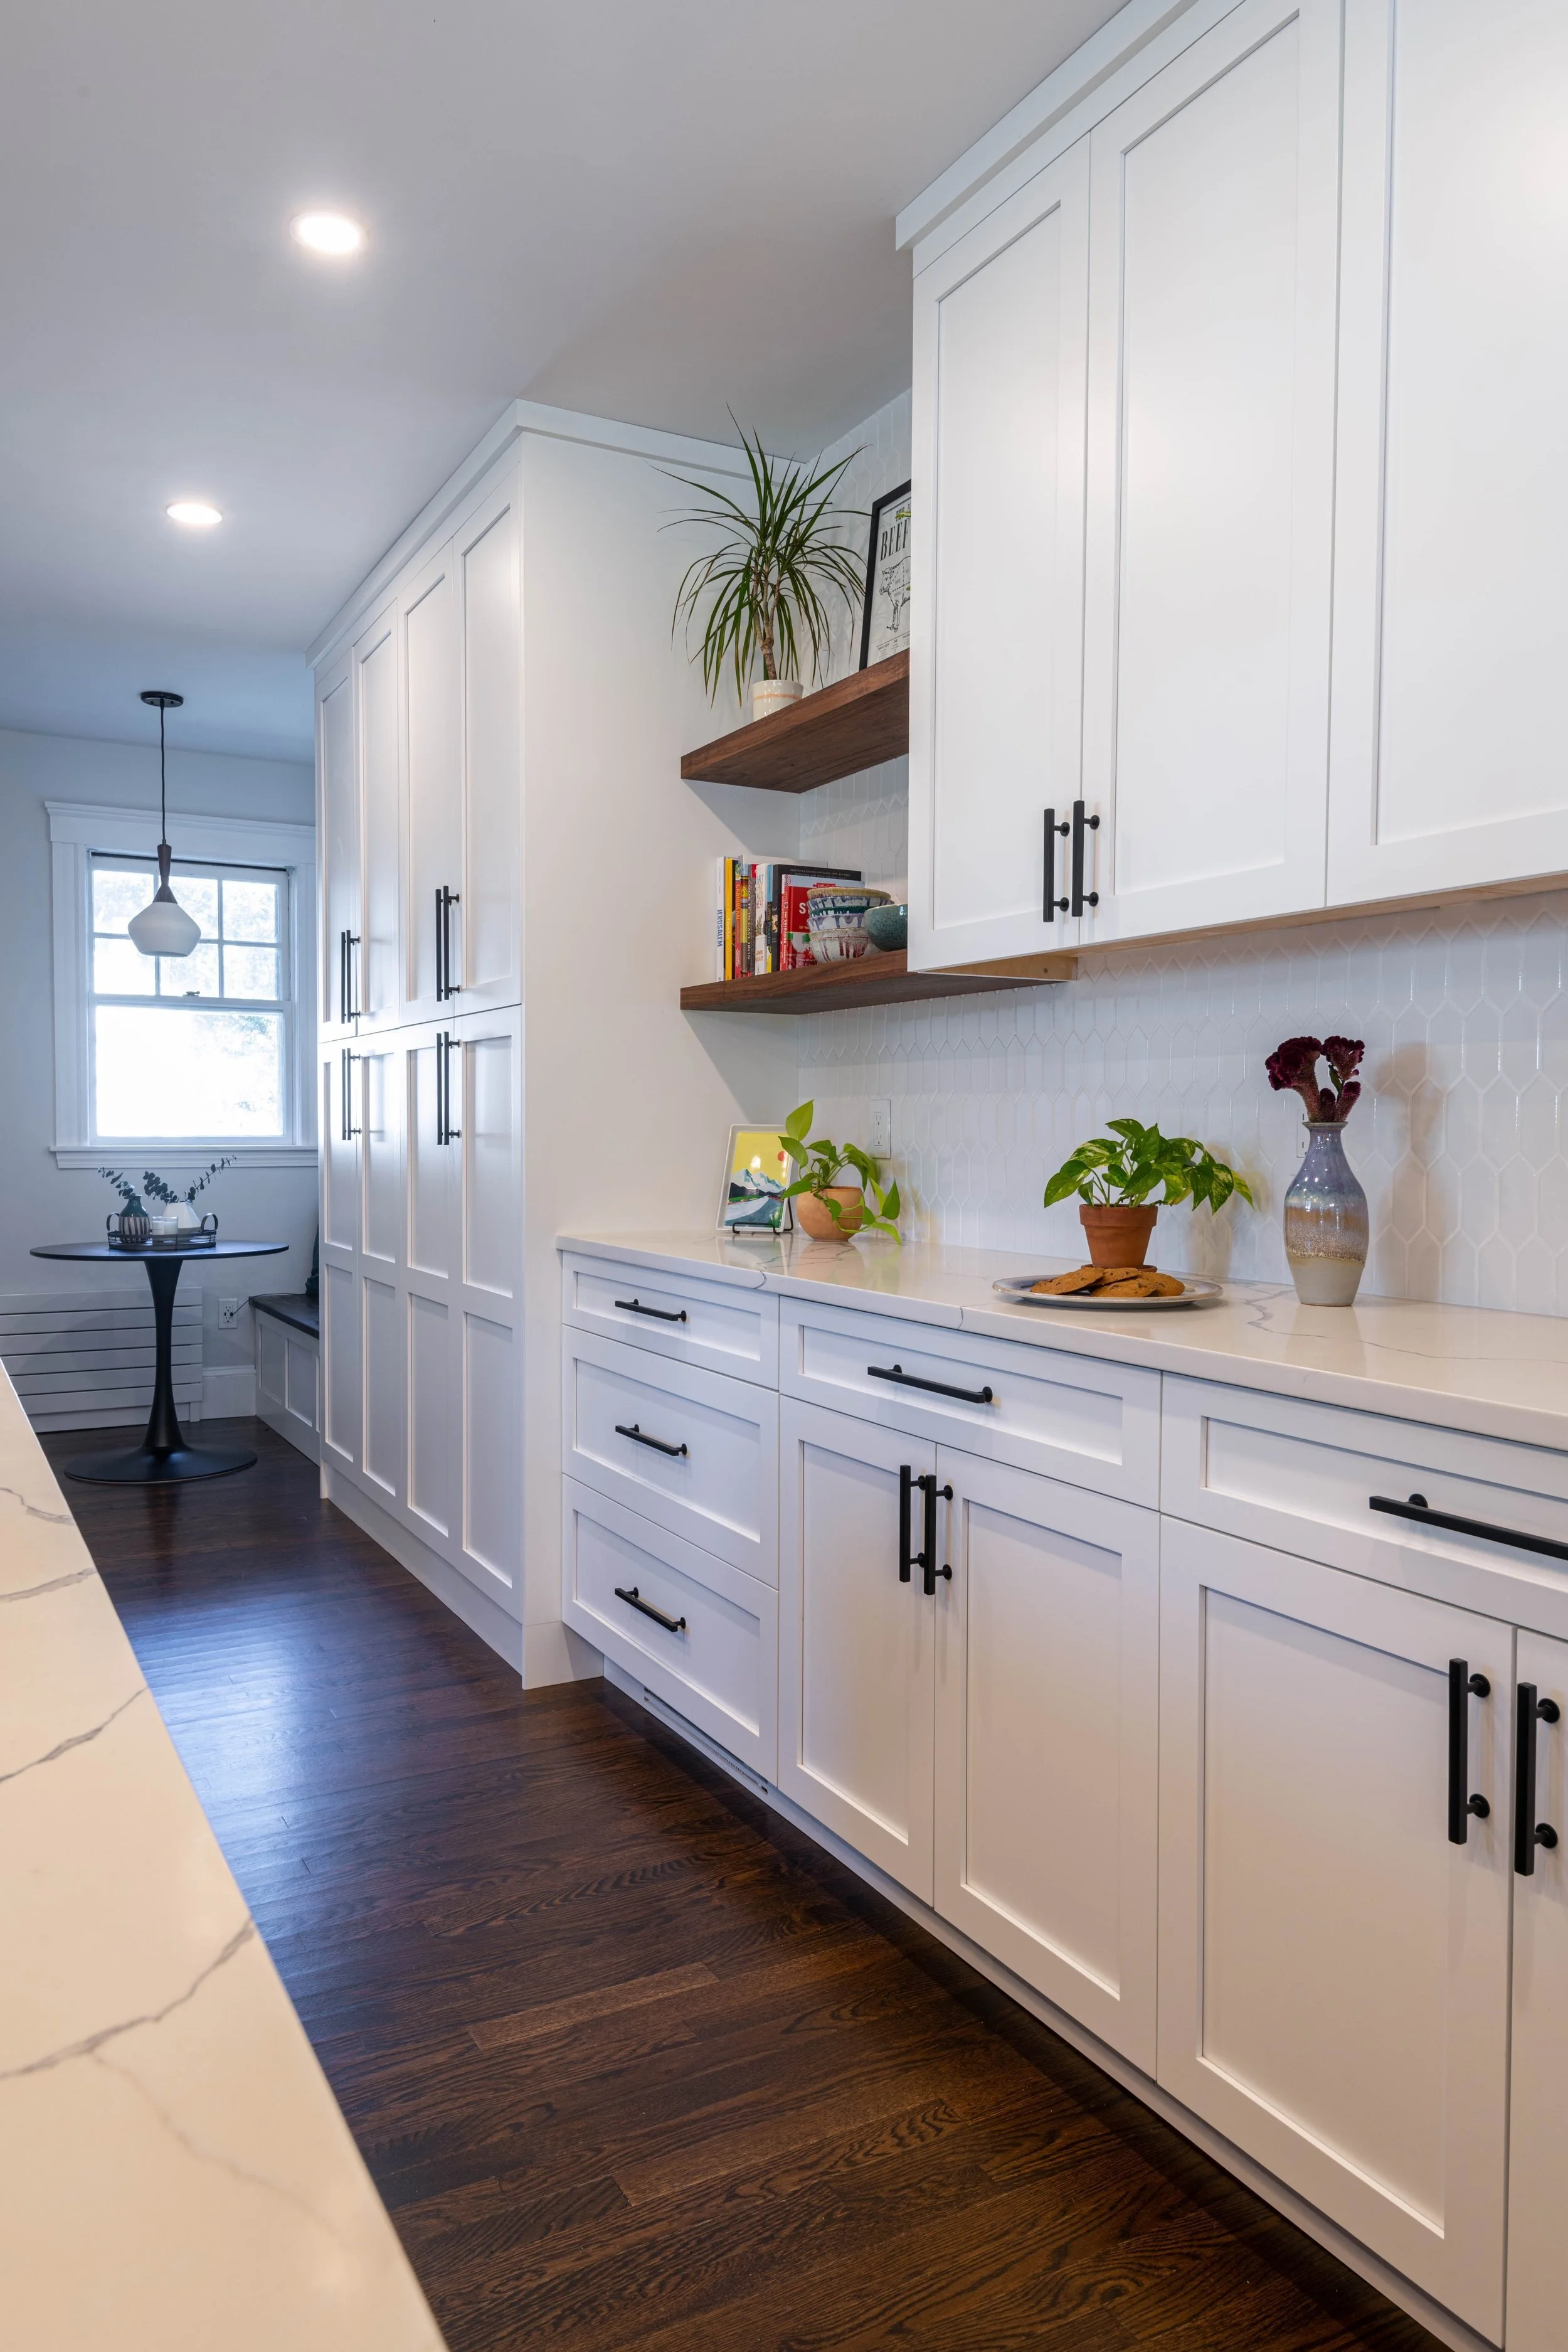
Kitchen Main Working Space
-

Living Room View to Dining Room
-

Bathroom 1
-

Kitchen View to Rear Door
-

Deck
-

Chimney and Ductwork in Kitchen Partition
-

New Stair Opening